Adding Color

So we made a few more trips by the house this week than normal and surprisingly there has been a lot of progress. Last night, we went to a friends housewarming/welcoming of his wife to the U.S.. Then this morning, we woke up and went to the Chattanooga Market with Molly’s sister and her friend. When we decided to go there I had one thing on my mind, “Rolling J’s” food truck. For the love of truck sauce its good. We went around wasting some time and looking at all the booths. Of course as always Molly thinks more about getting things for Cash than for herself. I spotted a new Under Armor dog harness, then we stopped by “Barley Bones” and got him and Mack a treat.

Before we went to the market we ran by the house and to our surprise there was PAINT ON THE HOUSE!!!! It is turning out to be perfect. Me and Molly are getting more and more excited and ready every day. So without further wait here it is. We chose Sherwin Williams “Greek Villa” for the main color, “Urban Putty” for the Trim, and for the doors, “Urbane Bronze.”

House Mockup IMG_3138 IMG_3143 IMG_3144 IMG_3145

Every August Until A Cure

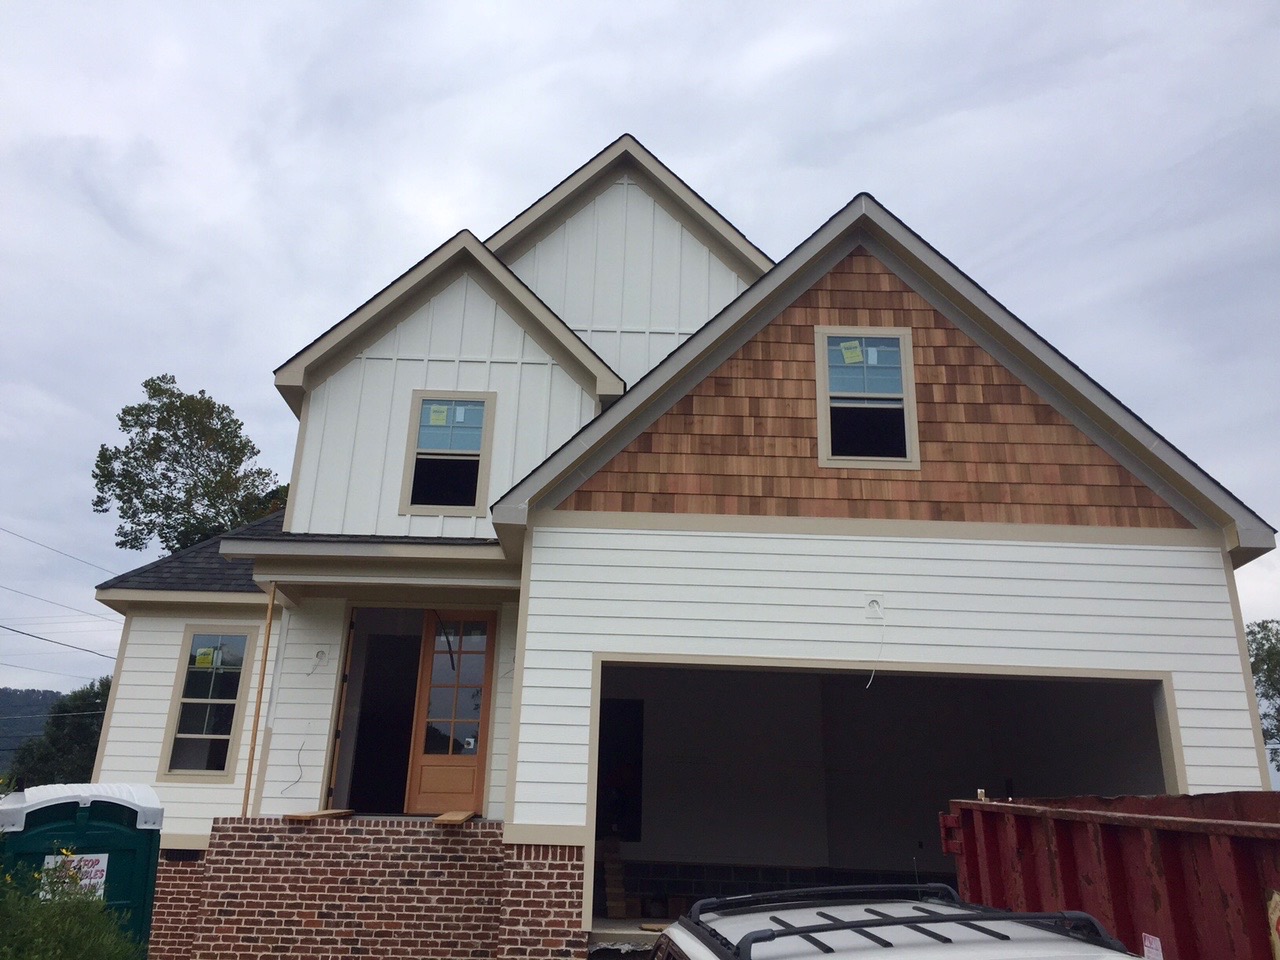
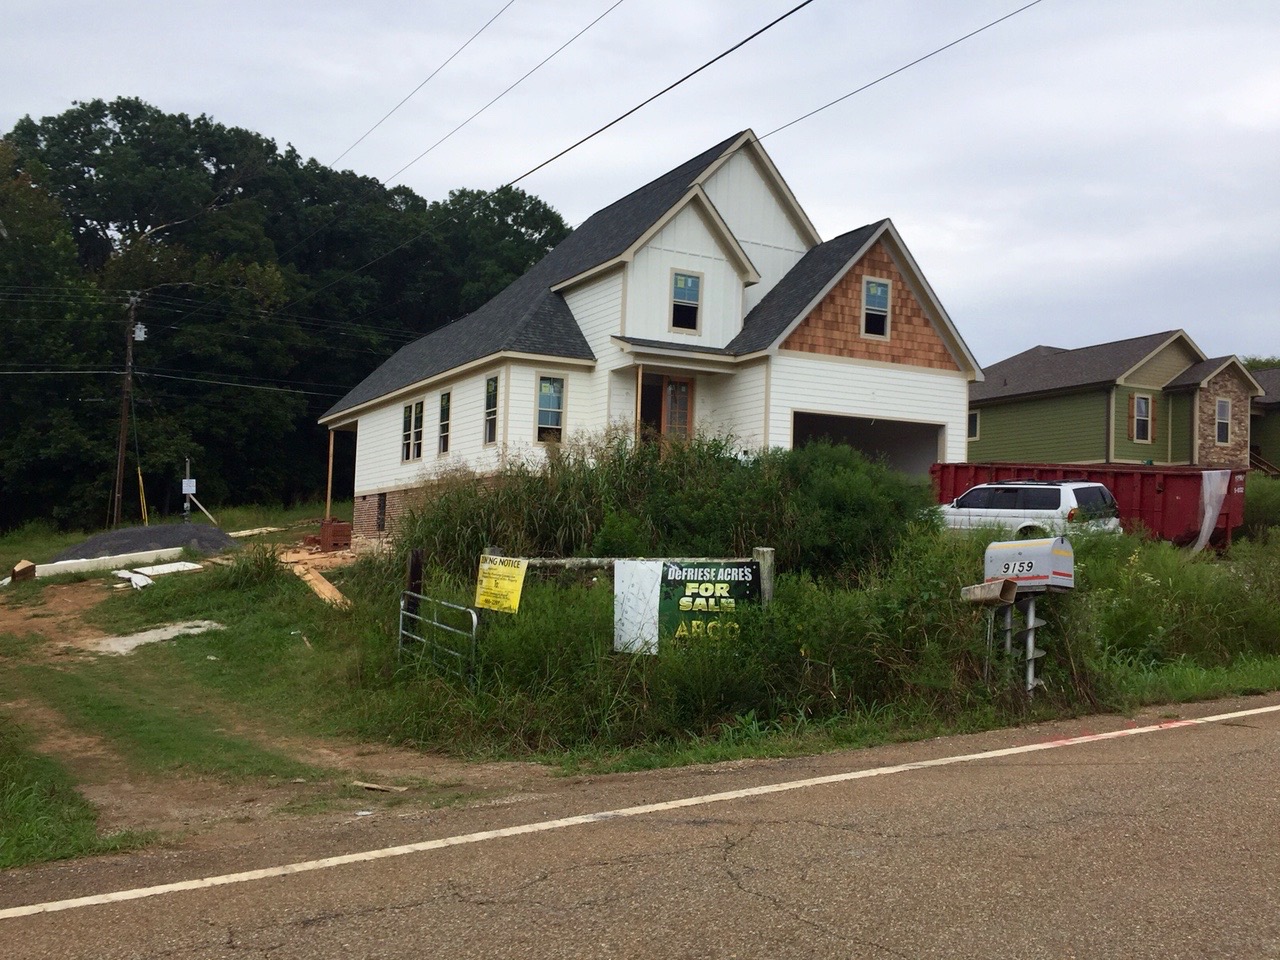
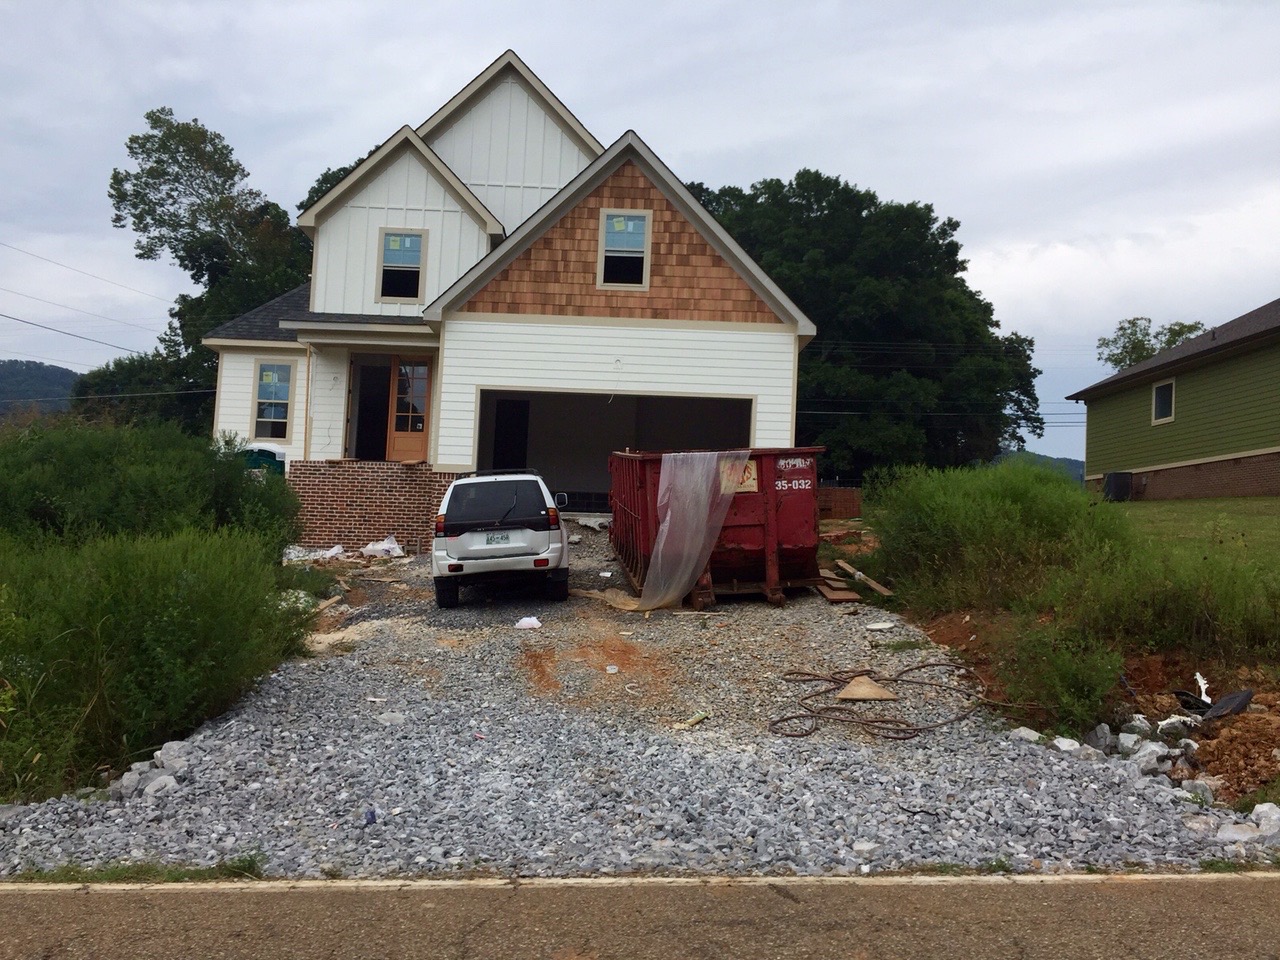
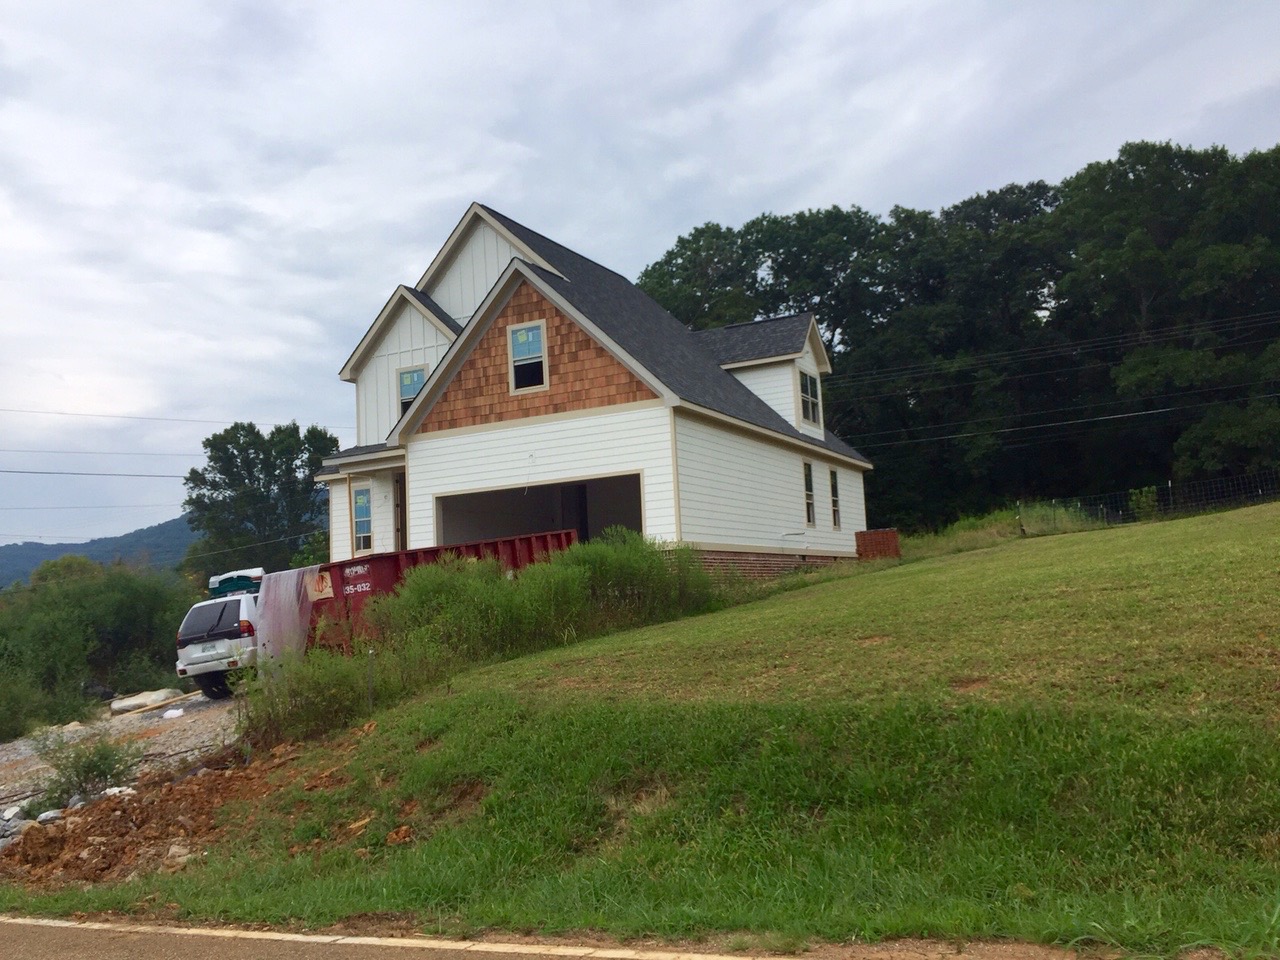
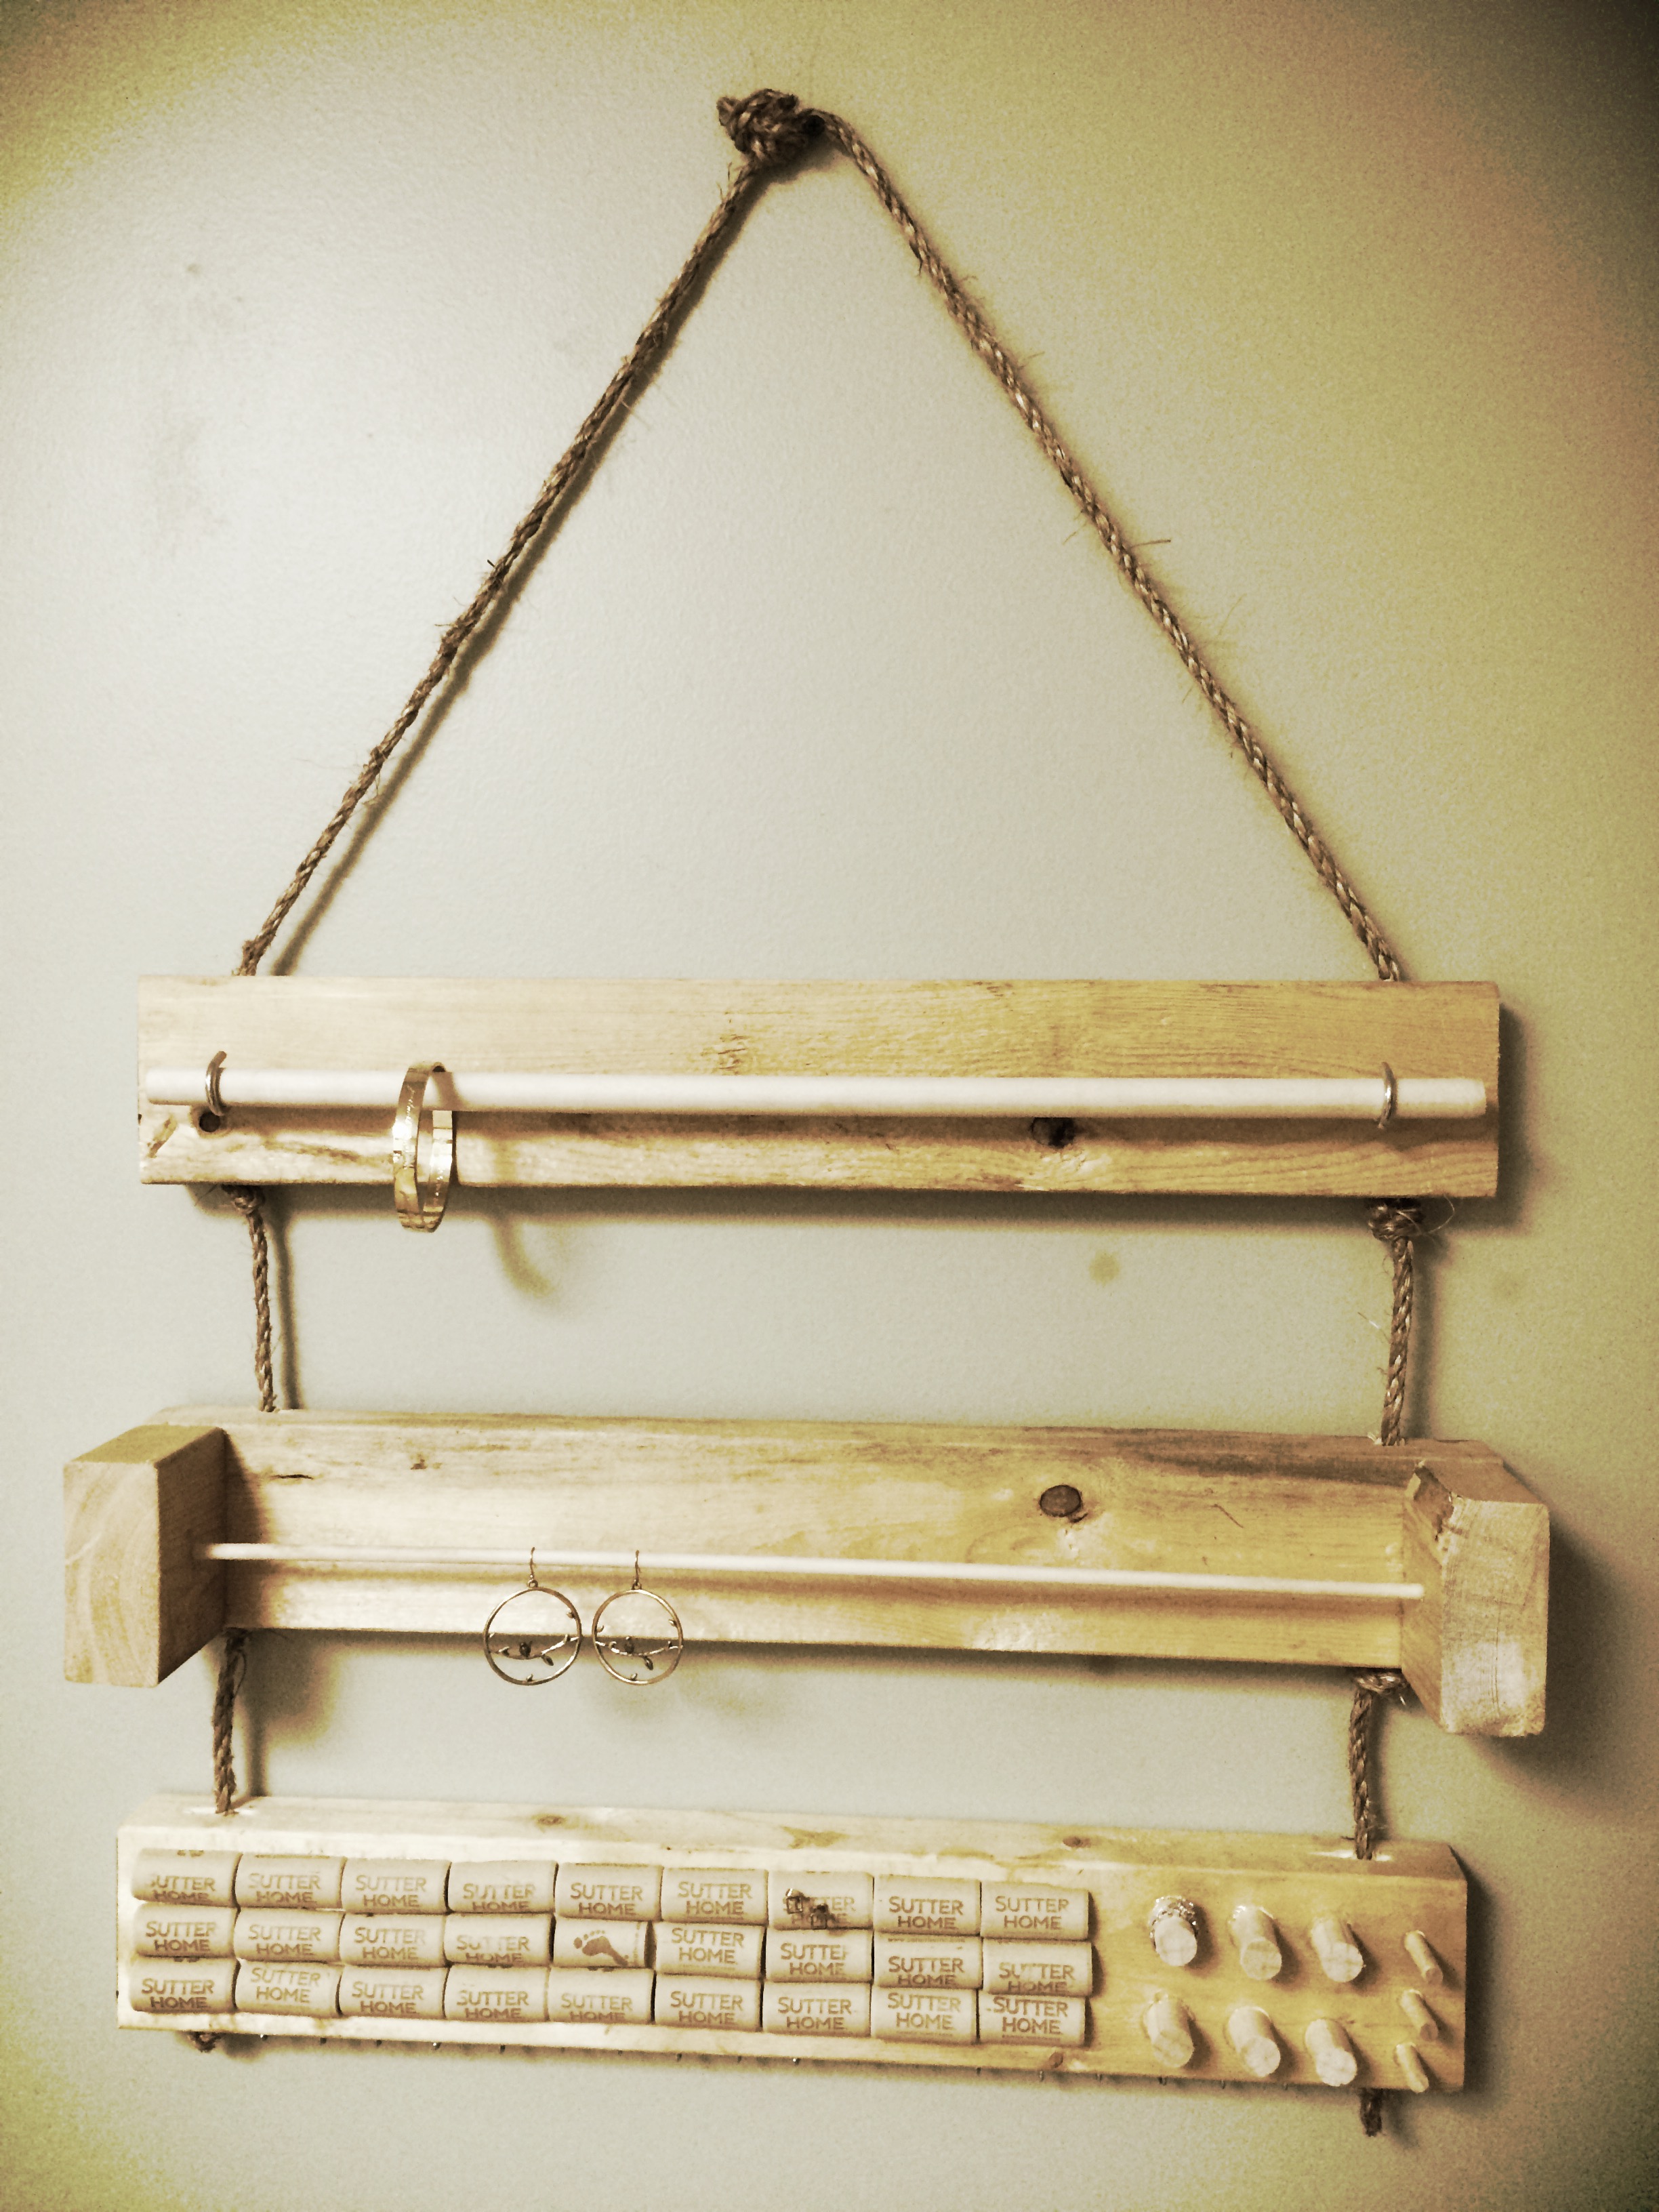
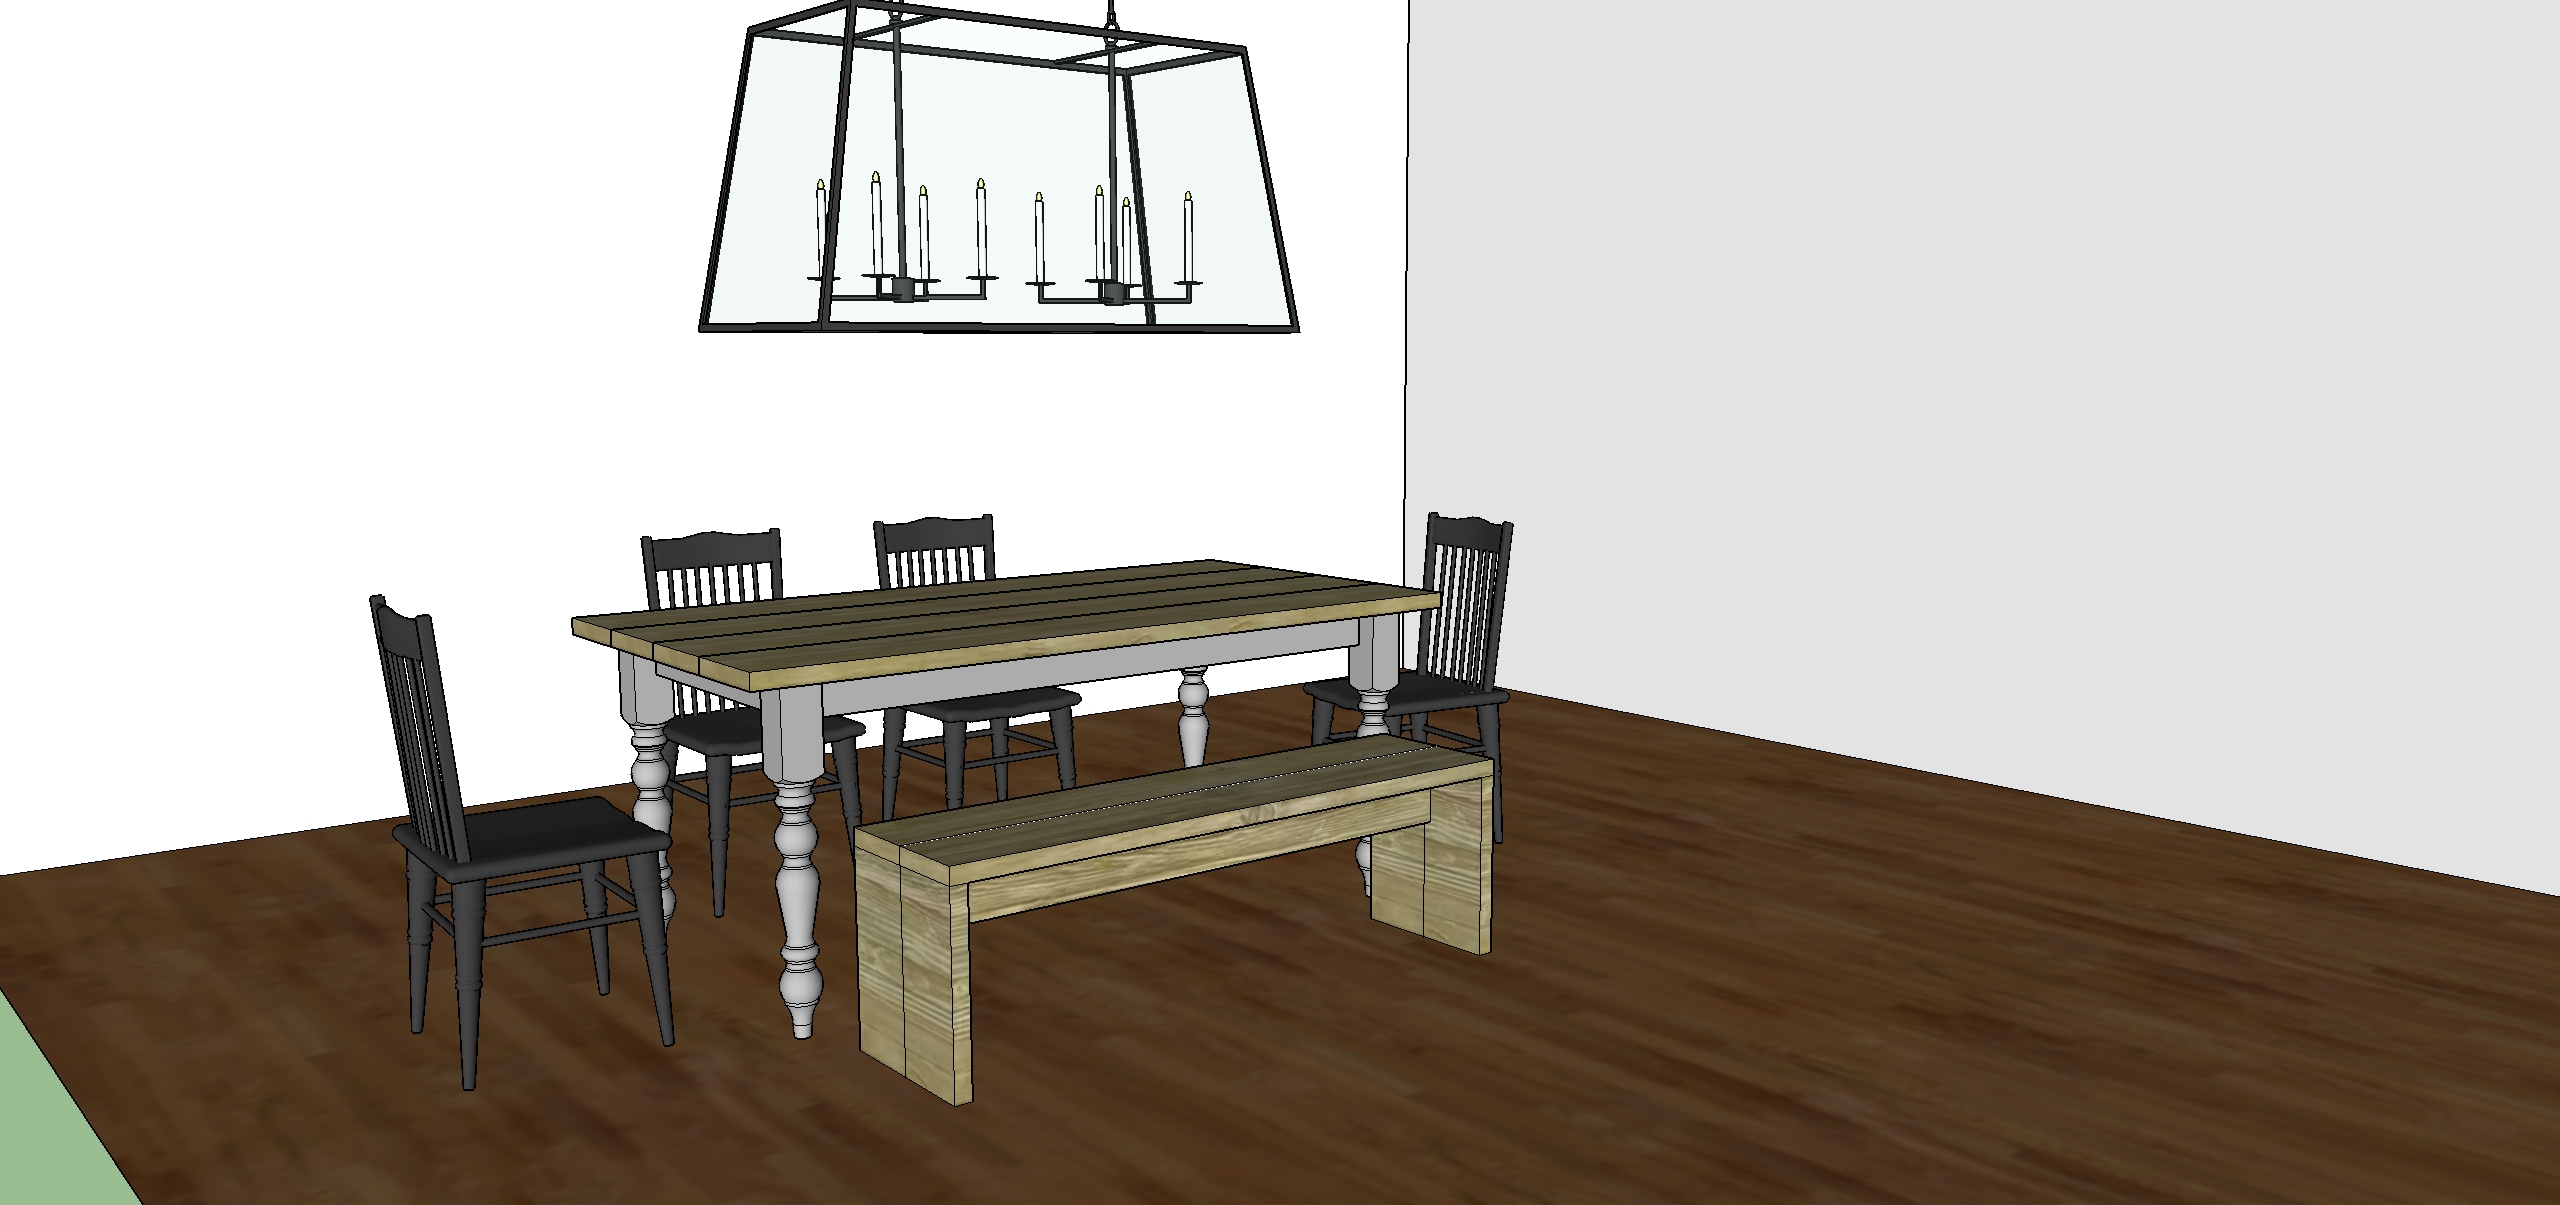
Back in March I, Jarrod, developed this page to share the build of our new house. However, it has turned into something much more. Here’s an important part of my life and why I love to woodwork and create things.

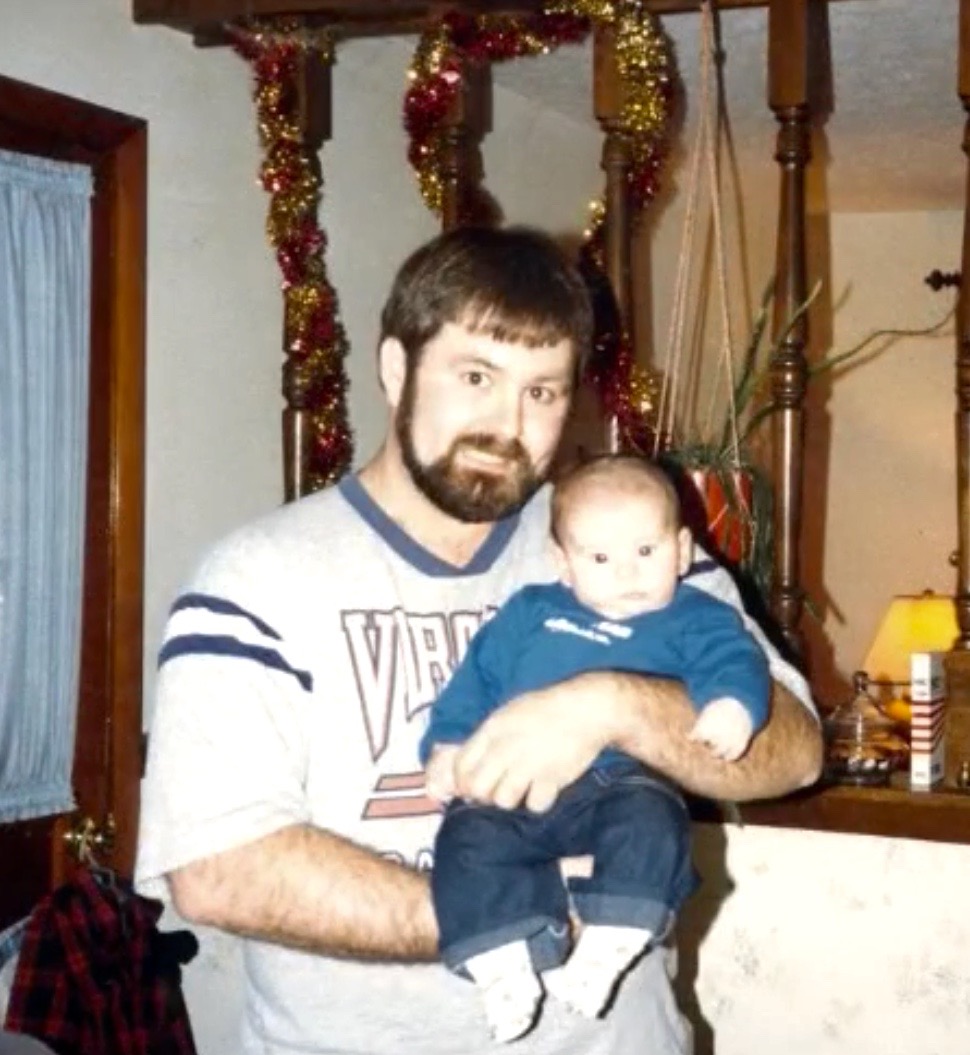
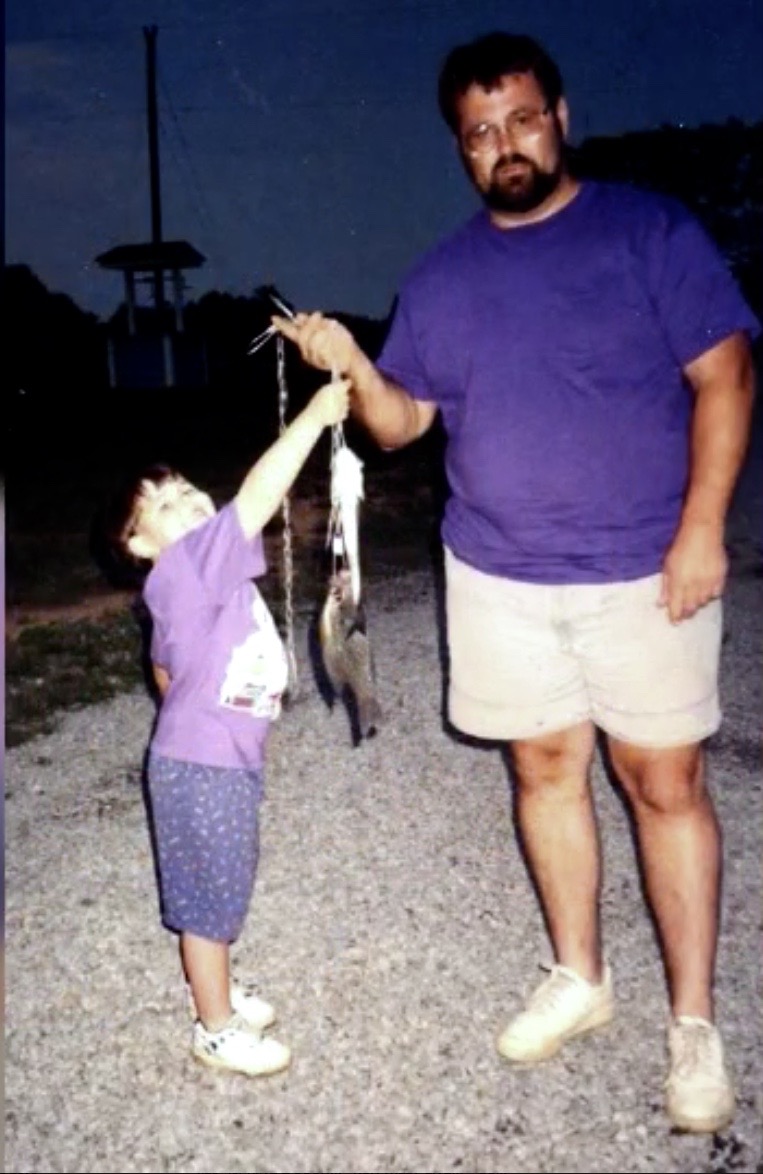
I grew up in a small area just south of the North Carolina/Virginia border called Providence, NC. During my childhood, I would frequently help my Dad do projects around the house. This is the time when I began to love the satisfaction of doing things myself. Some of you may know, but those who do not my Dad passed away in December of 2009 from ALS (Lou Gehrig’s Disease). He was diagnosed in 2007 after being tested for many other diseases, for months he visited Duke University for testing and visit’s with Specialists.

Screen Shot 2015-06-30 at 11.41.49 AM 
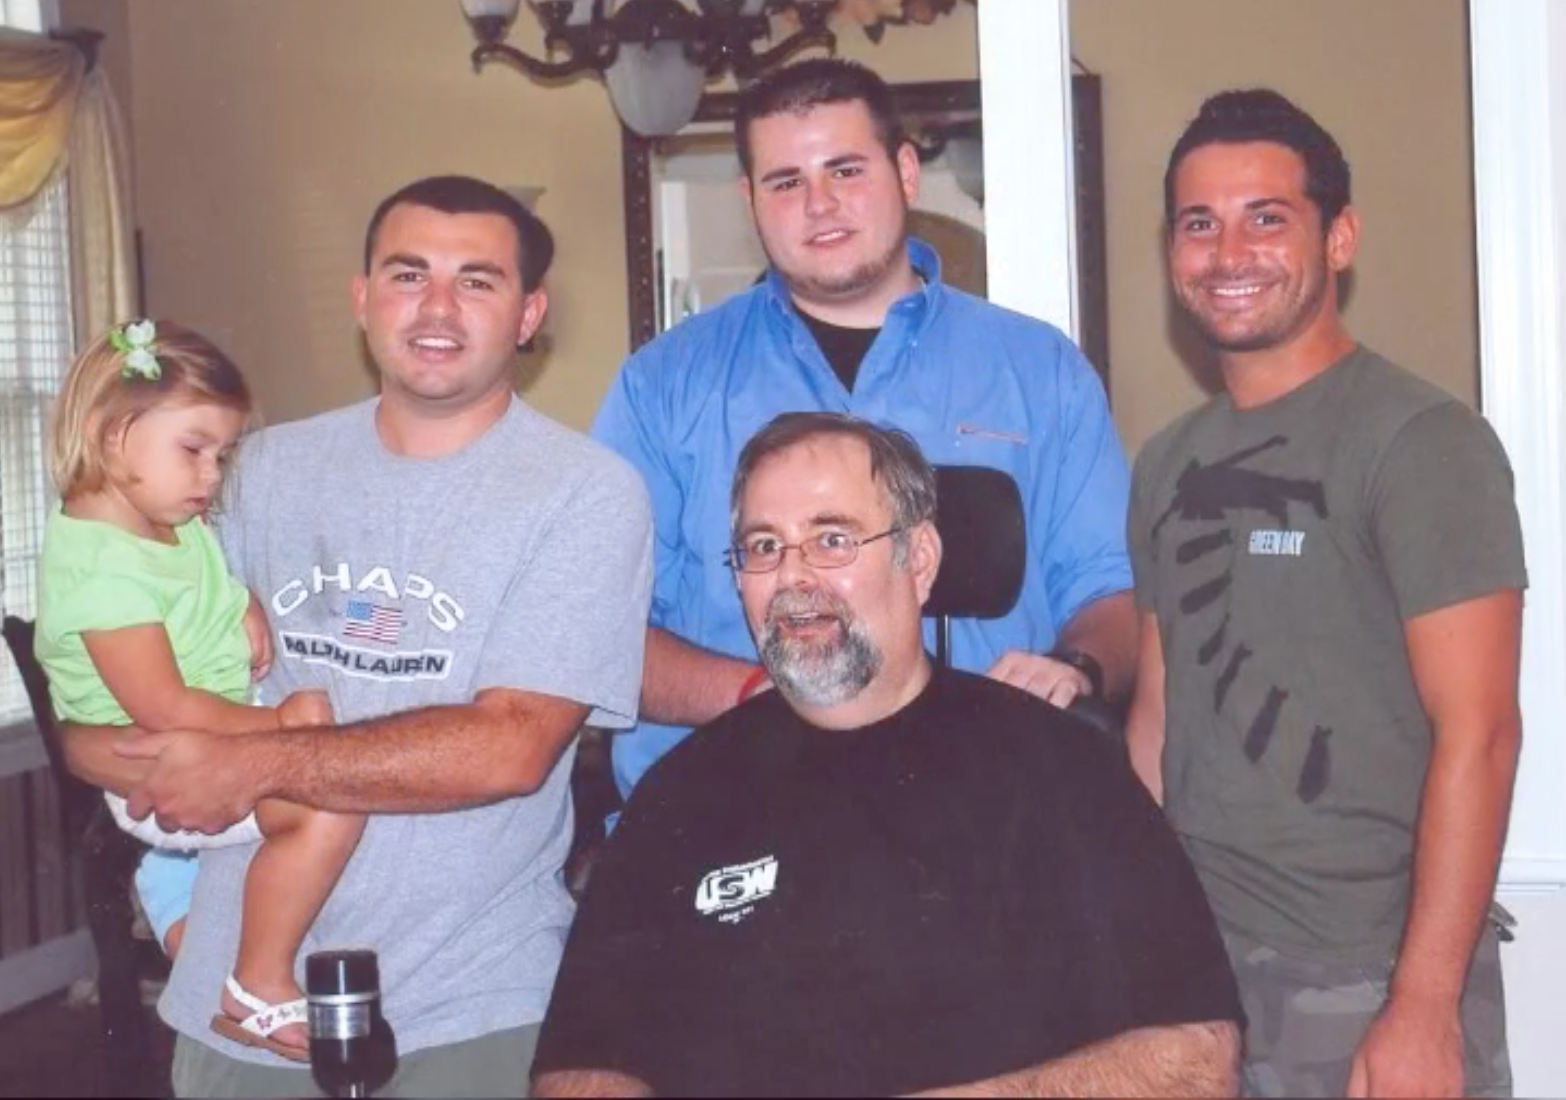
His illness began with causing his speech to be slurred which devastated him as he was a man who loved sharing information/knowledge and took much pride in his work. He was in a position at work where communication was a requirement so he had to retire early on disability. Shortly after retiring, he began losing all motor skills and the ability to eat and speak. After he lost his ability to communicate, we created a system for him to still communicate with us by using the movement of his eyes. I eventually stopped working so I could help care for him when he could no longer be alone. I still remember it like it was yesterday, I felt like I was stuck in the movie “Groundhog’s Day” as every day, I had the same routine. I would wake up in the morning and go upstairs to relieve the Hospice Nurses. Then I would begin my shift of taking care of dad from 10 AM until around 4PM. Days were spent watching Family Fued, Price is Right, and then Soap Opera’s (Dad loved the stories especially since he got to watch them everyday). Taking care of the man who I had looked up to all my life really brought me down. At the same time, I think it helped make me who I am today. These times were difficult, but I cherish every moment I got to spend with him. ALS is a disease I wouldn’t wish on anyone, yet more and more I see people who have been diagnosed with it. The ALS ice bucket challenge has brought more attention to this harsh disease and gained it more support. August is now known as ALS Awareness month with the motto “Every August Until A Cure.” I can’t wait until a time when a cure is found so no one else will have to lose a loved one at the hand of this illness.

Screen Shot 2015-06-30 at 11.41.58 AM

Screen Shot 2015-06-30 at 11.49.44 AM copy

If anyone has questions or would like any advice as to how we handled caring for someone with ALS, feel free to comment below and we can get in touch.

-Jarrod

Rainy Days = Pinterest Overload

First let me thank everyone for the outpouring of support on my first post yesterday! That was a great feeling and brightened my day. It’s been raining for nearly 3 days in Chattanooga! It’s so cloudy and dark. I do work a full time job, so I don’t get to stay home snuggled in bed with my baby Cash like I would dream of doing. Instead each day I have to wake up a 6:00 AM. Cash is such a smart little thing – each morning around the time for my alarm to go off, he comes up beside me to get his daily snuggles. I cuddle him until I have to force my self up out of bed and then I tuck him right back in, which is where he typically stays until I force him to go outside. Dogs are definitely like their owners, we both hate mornings!

cash3

That being said – I basically would rather be in bed any day, especially rainy days. I do love a good rainy season though! Me loving to be home and inside so much (aka – hermit) drives me to spend much of my time on Pinterest!

Pinterest is whole different world where people think they are craftier than that really are, or where people think they can cook like Paula Dean then their cake comes out looking like an rock rather than something edible. Yea, I’ve been there. But those times when you’ve worked hours to make something perfect and to your surprise it actually turns out – those are the times where it’s totally worth it! My latest project was making wall storage for my jewelry, and definitely worth the little time it took to make it. Luckily, there were no fails this time, thanks to the help of my husband. We picked up some scrap wood from the house that they were going to throw away and then ended up with this totally awesome and functional piece!

The top easily slides out to put bracelets on, the middle is for hanging earrings, and the bottom is multi-functional! There are small hooks on the bottom (that unfortunately I just realized you can’t see in the picture – whoops) to hang necklaces, then the corks we acquired from family. I cut some in half and glued to the board to stick my stud earrings in. Then finally, my ring storage are dowel roads cut in small pieces to easily slide my rings on and off. I didn’t paint or stain it because I typically like the leave things the natural way – so I think this time I’ll just sit back and enjoy it! Check out our creation below!

IMG_4577 IMG_4578 IMG_4579 IMG_4580

Brick by brick

Well we are finally getting to feel like we have something to go and look at now at the lot! Today we ventured out to see plumbing, electrical, and HVAC all roughed in. 

Earlier this week we picked out our front door, so soon visitors to the house will be greeted by this front door.

 
And now for the biggest change, we have shingles on the roof and the foundation is all bricked in our choice from General Shale brick “Old Georgian Tudor”. It turned out to be the perfect color!  
    
 Stay tuned in for the next steps coming soon of Hardie Board Siding, which for me was a must when we decided to build a house. 

Moving along

So now it finally feels like we are starting to get somewhere with the house. This week was exciting, first it started with me picking up my beast nasty delta table saw! 

 Then on Monday we went by the house to see it completely framed and wrapped. We did the framing walk thru and made any last minute changes we wanted. Then we were joined by the cabinet maker who was definitely the rain man of cabinetry. He legit walked in and didn’t even hardly introduce himself then started spitting off numbers. Here’s my best impersonation ” we can put a 36″ base there or a 42″ but where do you want the dishwasher? Sink under the window? What about the wall you want 24″ wall cabinets? Hood over stove?”. That’s seriously how he was but you could tell he knew his stuff. So next Friday we will be meeting at his shop and buttoning up the final details so they can get started.

Wednesday we had to go back out to the house and do the electrical walk thru. The electrician was very nice and down to earth who gave plenty of recommendations. I can’t wait to see how it all turns out! But so far here are a few pictures.


Kitch-Inspiration

So here is our next design sheet we laid out for the Kitchen! We think and hope this is going to be the best part of the house, and we look forward to cooking meals and sharing good conversation with friends and family in the future. Enough talking though, i will let the design sheet speak for itself.

kitchen inspiration

DIY Farmhouse Table

So here is my first DIY how-to for a typical farmhouse table!!! I have placed our order for Osborne Wood Company’s “Old English Country Dining Table Leg’s” and decided this would be my first DIY How-To. In my past i have dealt with several different 3D modeling software, my current choice is Google Sketchup! Its free and very easy to use, once you get the hang of it. Farmhouse Table So here’s the lumber you will need: 2- 2x8x12’s, 4-2x4x8’s, and 4-29″ legs of choice (our choice- https://www.osbornewood.com/1110.aspx) To cut and assemble you will need: Tape Measure, Miter/Circular Saw, Kreg Jig- to Join, and Screws. Farmhouse Table finished This is the overall look we are going for!! Farmhouse Table decoratedStep by step pictures to come!!

Antique Makeover

My husband went to our routine antique stores a few weeks ago and found 2 treasures that I love. Not sure what exactly they were used for but we are going to use them as our nightstands in our new master bedroom.

nightstands before

I asked my husband to not wake me up this morning, but I guess he let that go in one ear and out the other and instead woke me up. Even though it was 10 AM, I wanted to continue to sleep until my body would no longer let me. He was rather excited about the day we had planned. Last night we made a list of the things we wanted to accomplish today and we got most of it finished in just about 7 hours!

First I asked him to finally finished our spool table project that had been almost finished for about 3 weeks now. All he had to do was attach the legs. He wrapped that up quickly.

spool

Then we moved on to refinishing our nightstands. After scuffing them up and removing the hardware, I started the painting process. The guy at the antique store gave us good pointers when we picked out the paint last night. We decided on a milk paint called “Lamp Black.” I love it! After two coats they were ready to dry and be put back together. After we reattached all the hardware, I distressed them slightly to add a little imperfection to it. I’m very happy with outcome of them and hope you love them as well!

sanding

nightstandsafter

nightstandsafter2

Jarrod also found some great kitchen chairs that we will be refinishing soon. They are Ethan Allen by Baumritter. Stay tuned!

chairs before

Last words: my husband works very hard to make me happy and I couldn’t ask for a better “workshop” partner! He’s the best!

-Molly

Footings Finally

So finally I am excited to say that we now have officially started our house. Yesterday the footers were dug and today the concrete footings are in! I went by to meet with the bulldozer guys and got them to give a quote for clearing the back of the lot all the way down to the creek. And now this afternoon it’s being done and will be piled up so we can burn all the brush! Can’t wait to see it cleared, it will make the backyard seem even larger. It’s going to be nice to go on vacation and then come back and who knows what it will look like in one weeks time! 

Here’s the pictures so far:


Next post it will be cleared off!